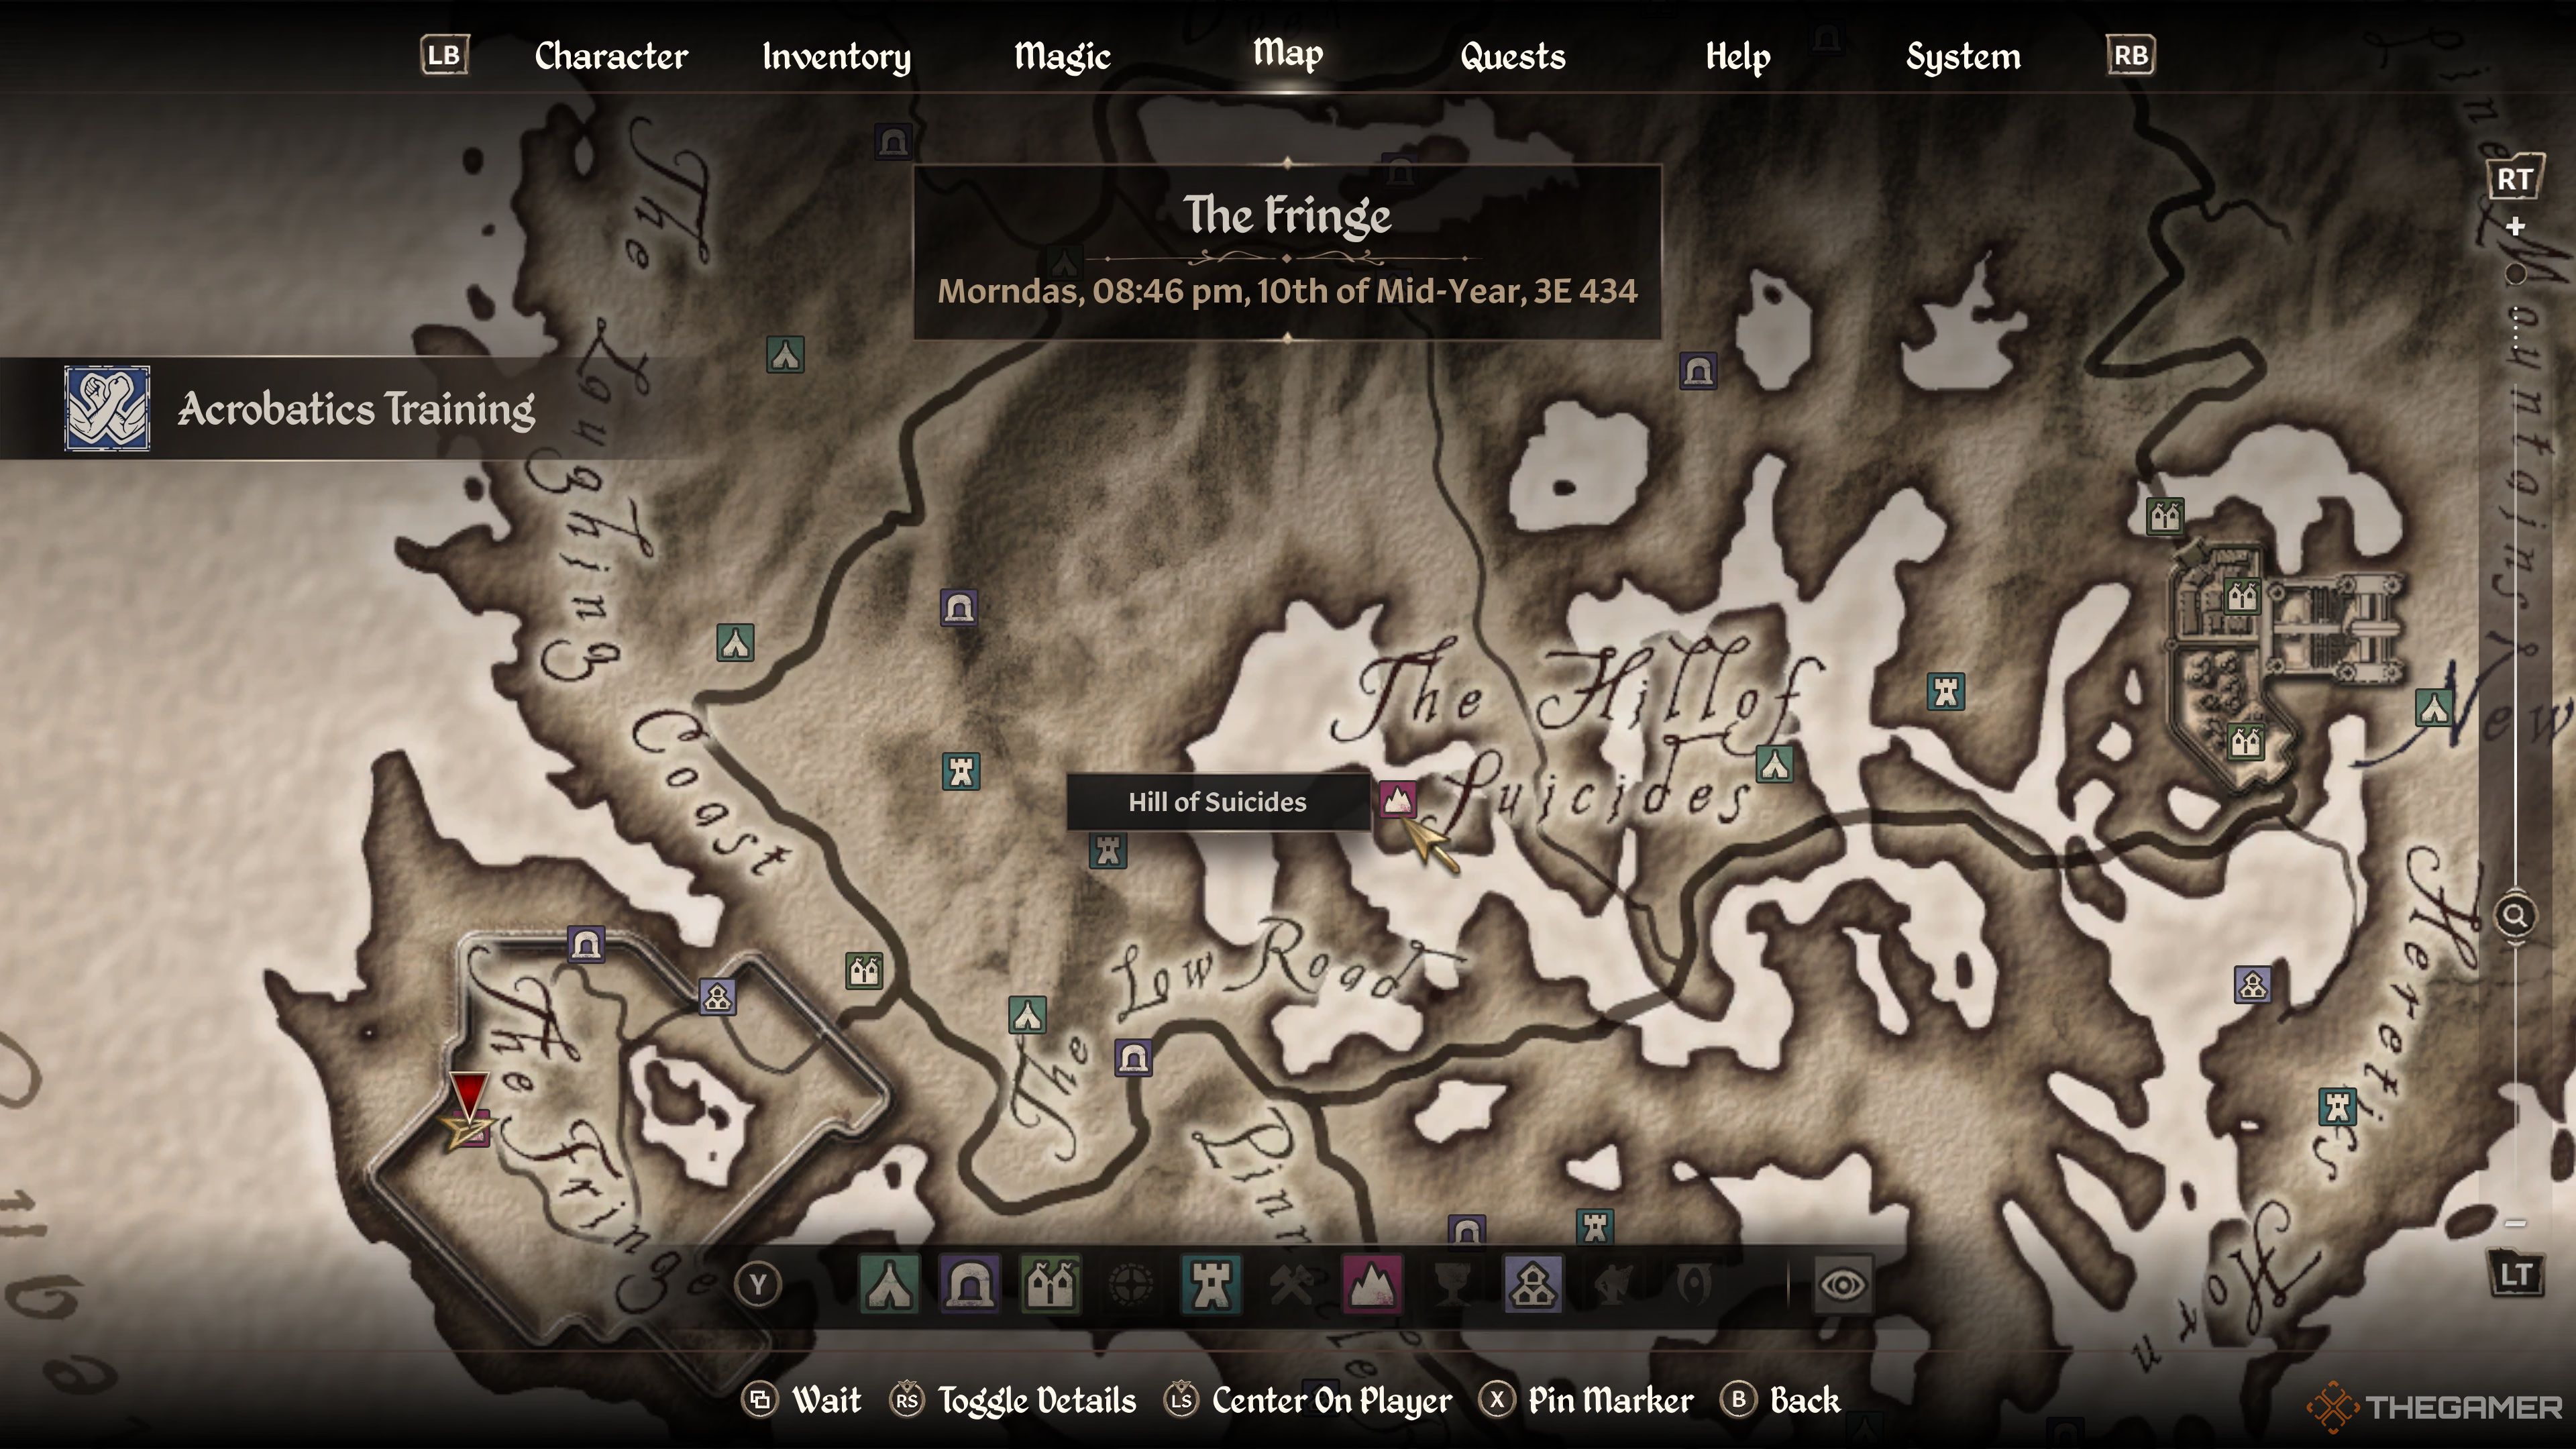
The Shivering Isles DLC is one of the most unusual locations you’ll explore in Oblivion Remastered, boasting several bizarre adventures, including a few unmarked quests. One such unmarked quest involved the ghosts on the Hill of Suicides, a morbid spot located directly in the center of the Shivering Isles near the border between Mania and Dementia.

Related
Oblivion Remastered: 8 Best Illusion Spells
Illusion offers powerful spells for sneaking or fighting.
However, if you speak to the residents of the Shivering Isles, particularly Erver Devani in Deepwallow, you’ll learn more about how to complete this unmarked task. Devani explains that the ghosts on the Hill of Suicides are doomed to wander the hill forever unless their remains are returned to them; that’s where you come in.
How To Start The Ghosts Of The Hill Of Suicides Unmarked Quest
This side quest can be started any time once you enter the Shivering Isles, but it doesn’t have a distinct pop-up notification indicating how to progress.
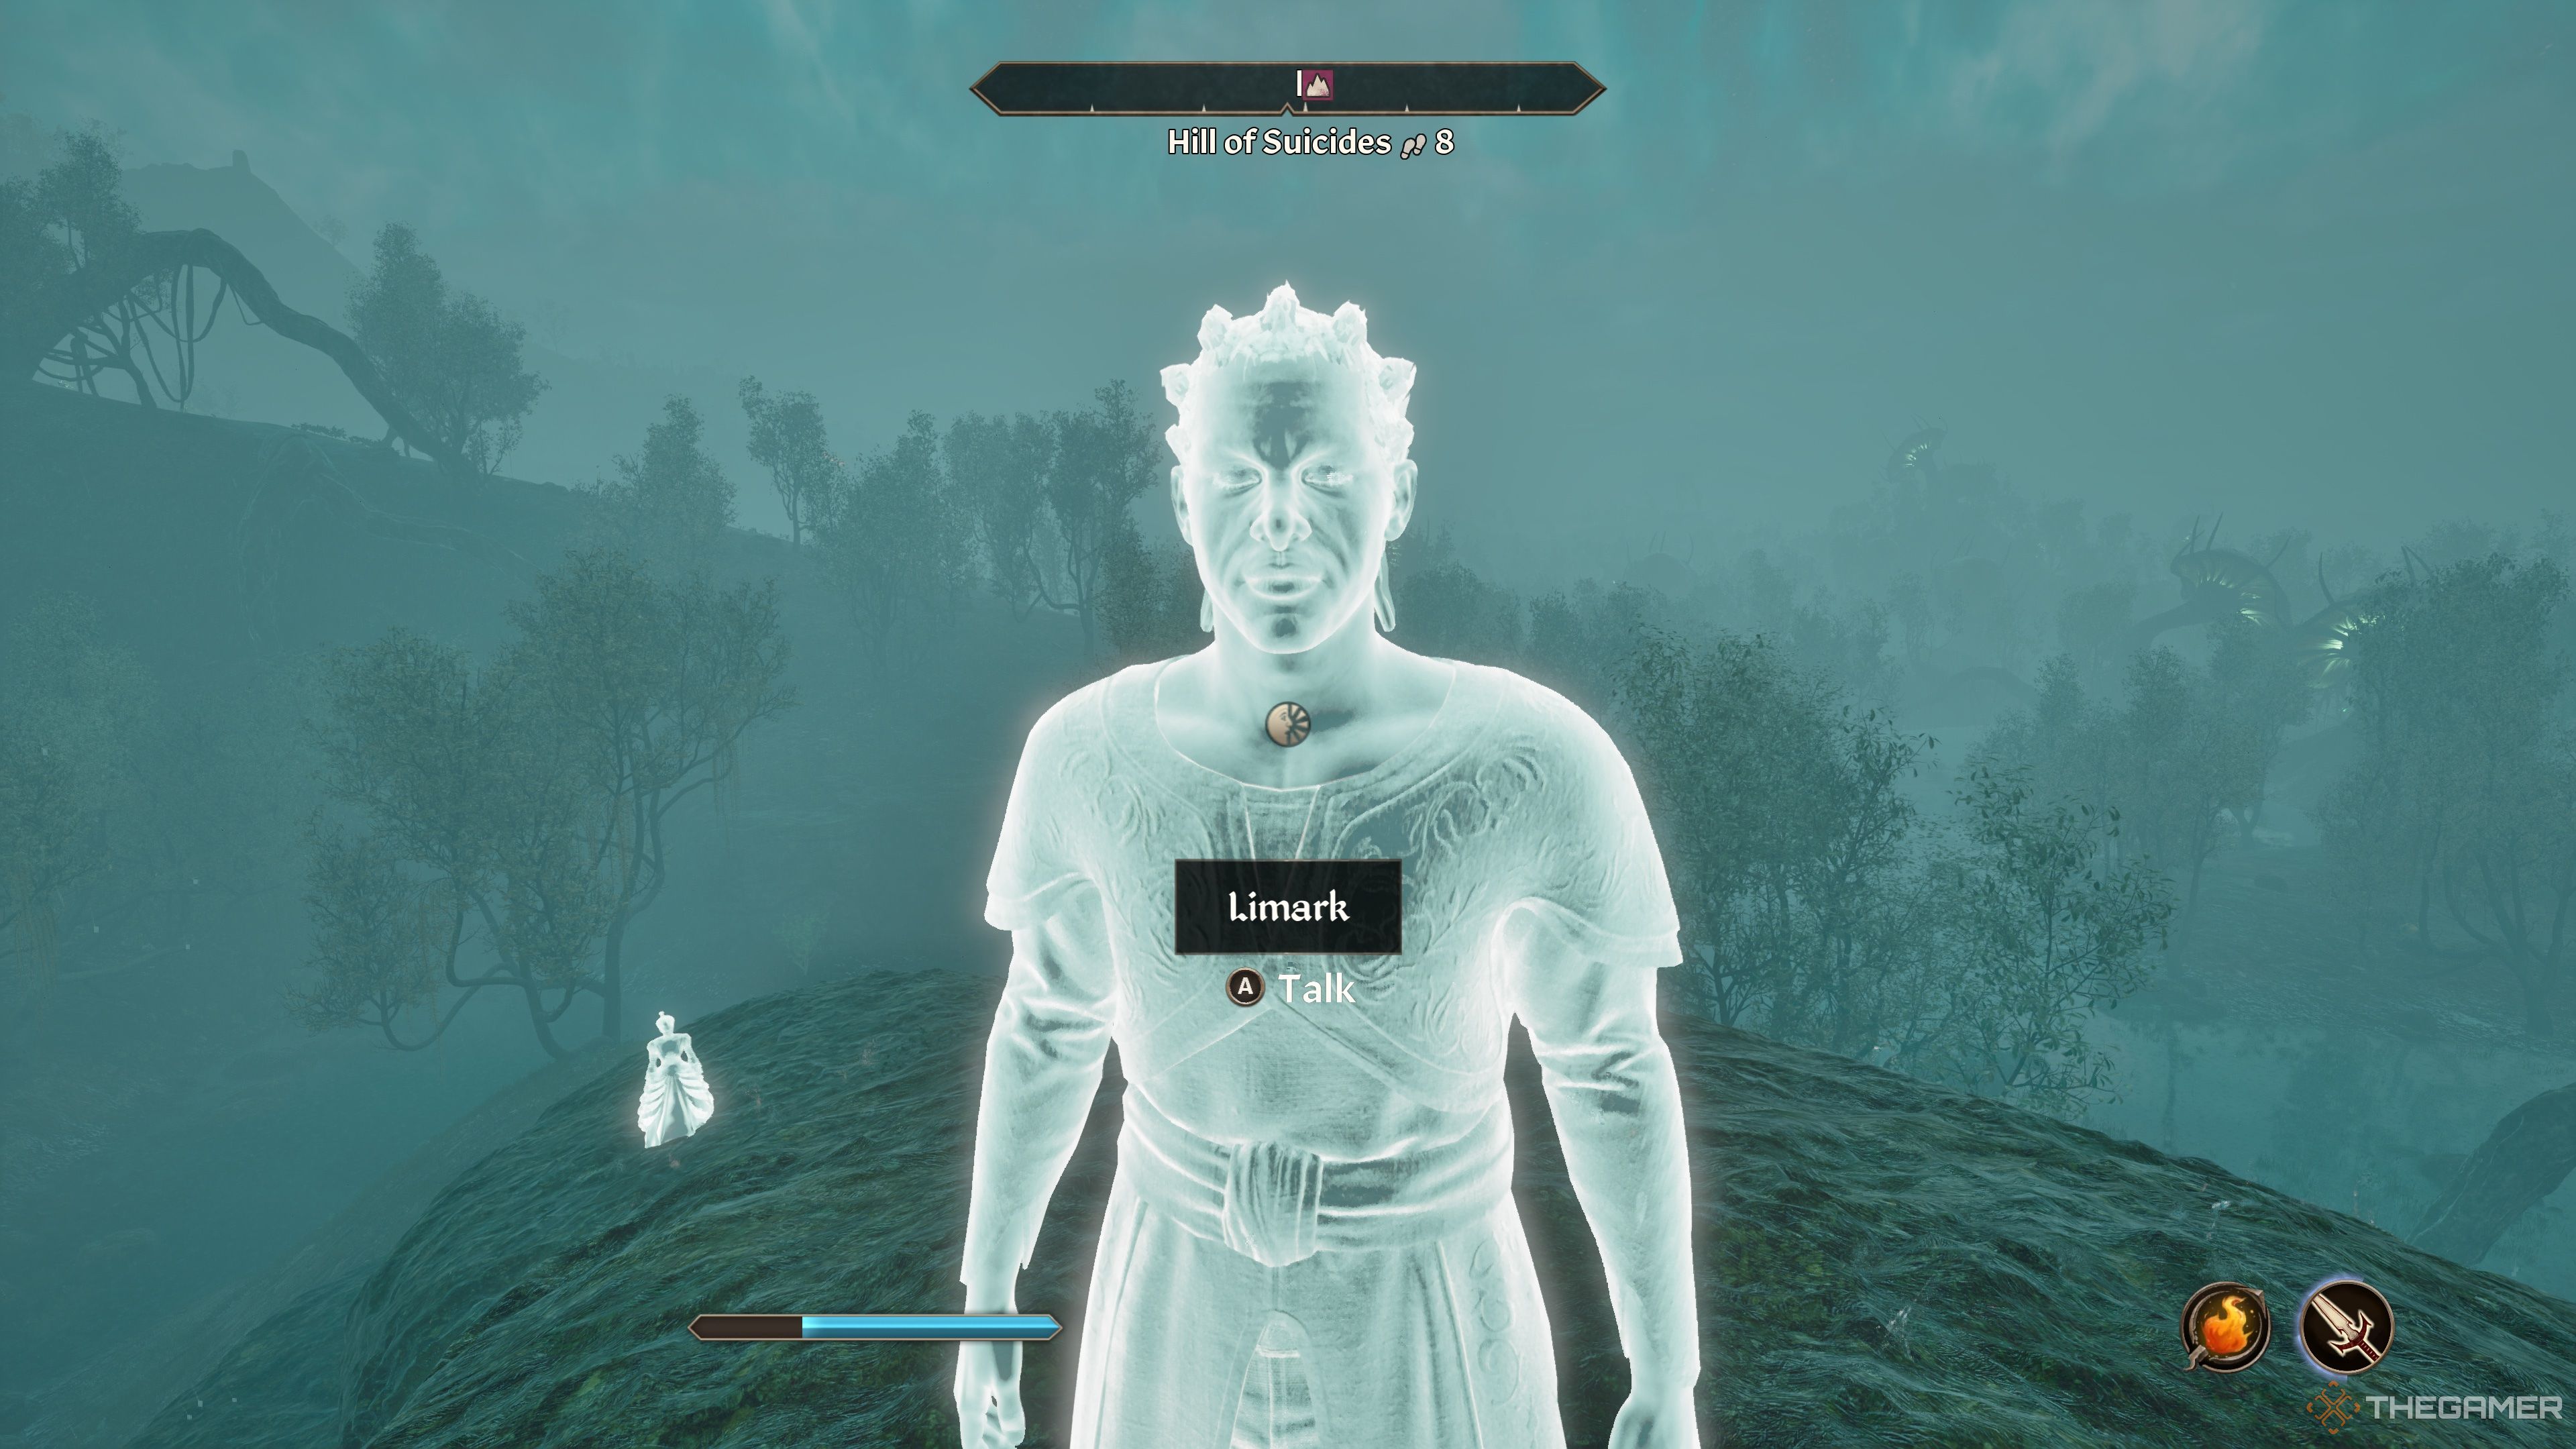
You can begin immediately after you discover the ghosts, solemnly staring into the distance at the Hill of Suicides. You can inspect the names of each ghost, but you cannot interact with them in any way just yet.
How To Help The Ghosts
To complete the Ghosts of the Hill of Suicides side quest, you must find each skull of the spirits you see on this hill and return it to them.
The skulls you must find belong to these ghosts:
- Gadeneri Ralvel
- Limark
- Lorenz Bog-Trotter
- M’Desi
- Salonia Viria
They can be found in any order, so feel free to collect them in whichever order you find convenient.
Where To Find Gadeneri Ralvel’s Skull
We’ll begin with Gadeneri Ralvel’s skull, which is hidden away in Knifepoint Hollow, which is southeast of Split and northwest of New Sheoth.
Clear out the Flesh Atronach along the path and open the metal door, and enter the large room ahead.
Look down and to the left to find the door to your destination: the Knifepoint Hollow Chantry.
Enter the Chantry and progress along the linear path until you reach a room locked by a gate with a switch next to it in the northeastern area of the Chantry.
Open the gate with the switch, dispatch the zealot inside, then look at the far side of the pillar to the left of the entrance (north) to find another switch that opens a secret passage in the wall.
Enter the small room, and you’ll find Gadeneri Ralvel’s Skull sitting on top of a chest in this room. That’s one down.
Where To Find Limark’s Skull
Next, we’ll track down Limark’s Skull, which you’ll find at Milchar, located to the southeast of Hale and southwest of Dreamwalk camp.
Once inside, you’ll notice some Elytra patrolling the area; you’ll need to clear them out. Do so and progress to the southern side of the room and jump down to find a door; take that pathway to Milchar, Xetrem.
Immediately turn left and head up the stairs, dispatching more Elytra along the way, but turn south, and you’ll notice there’s a small ledge that’s too high to jump up.
On the floor before this ledge, you’ll find a skeleton’s remains along with Limark’s Skull.
Where To Find Lorenz Bog-Trotter’s Skull
Next, we’ll turn our attention to Lorenz Bog-Trotter’s Skull, which is hidden in Knotty Bramble, west of Xavara and northeast of Fellmor.
Clear out the Grummites outside and just inside the entrance, then progress along the linear path to the Hatchery.
If you’ve already been here, you can use the shortcut door immediately left down the hall when you arrive, past the Twisted Roots.
Once you’re in the Hatchery, you’ll need to keep following the linear path forward, then drop into the water and immediately turn south to follow a path in the wall to the Lost Crypt section of the Bramble.
Continue following the path into the Lost Crypt until you reach a lit chamber with bodies and remains lying on stone slabs.
Approach the preserved zealot’s body on the northern slab and press the button hidden beneath it to reveal a hidden entrance to the chamber in the center of the room, where you’ll find Lorenz Bog-Trotter’s skull lying on the ground in a room full of loot.
The zealots will suddenly reanimate, so prepare to fight them on your way out.
Where To Find M’Desi’s Skull
When you’re done in Knotty Bramble, you can turn your attention to M’Desi’s Skull, which you’ll find in Rotten Den. This location is east of Inlet Camp and west of Xedilian.
Enter the Den and progress through the root door and follow the lower cutout path, avoiding the Scalon Statue traps. Defeat any zealots along the way and make a right, passing through the root door when you reach a fork.
Continue along the linear lower path until you reach the next section, Precipice.
When you enter Precipice, dispatch the two zealots in front of you and avoid the Scalon Statue trap again. You can take either the left or the right tunnel.
Defeat the next zealot waiting on the other side, then drop into another lower section, following the path across, then up onto the higher area where there are three more zealots to defeat around a large Scalon Statue, which luckily isn’t trying to kill you.
Take the path directly behind the statue to the south and enter the Sanctum. Turn right immediately and jump down the first hole, then turn east to continue down the series of holes.
Kill the Shambles blocking your way and follow the path northeast, where you’ll run into a room full of shambles. Take the root upward into the southern path, but be careful of the spike traps that come out of the walls along this pathway.
Once you’re past that section, you’ll pass through a broken wall and reach a large room with a zealot worshiping a statue.
At the foot of that statue, you’ll find M’Desi’s Skull, sitting on top of a chest. With four skulls collected, there’s only one more remaining.
Where To Find Salonia Viria’s Skull
For the final ghost, we’ll be hunting Salonia Viria’s Skull, which can be found in Cann. Cann is located directly west of Highcross in the northern section of the Shivering Isles.
Once there, defeat the Heretic outside and head inside the Great Hall section.
Progress down the stairs and through a metal door, kill two more Heretics, then head west through another metal door. Go down the steps, then follow the hall’s northern path, making your first right.
Avoid the heretic, then pass through a room with more dangerous statue traps and kill the three other heretics on the opposite side of the wall.
From here, take the eastern door into the Amphitheater section, slashing through another Heretic, then passing through a metal door down some stairs.
Head east and bear right to enter a small room with a heretic inside and a small shrine area in each corner. You’ll find Salonia Viria’s Skull next to some candles in a corner.
With the final skull collected, you can return to the Hill of Suicides.
What Rewards Do You Get From The Ghosts Of The Hill Of Suicides?
When you reach the hill, you’ll finally be able to interact with each ghost and return their remains, causing them to disappear and giving you a buff fortifying your Fatigue for 1,200 seconds or 20 minutes.
When all five skulls are returned, you’ll receive a unique Greater Power spell called Risen Flesh, which reanimates the dead for 60 seconds.
In addition, even if you haven’t spoken to Erver Devani in Deepwallow (south of New Sheoth) yet, you can find them there and let them know you freed Gadeneri’s soul from their eternal unrest.
You’ll receive up to 1,200 gold, depending on your level.

Next
Oblivion Remastered: Hermaeus Mora Quest Walkthrough
Here’s how to unlock and complete Hermaeus Mora’s hidden quest.


0 Comments